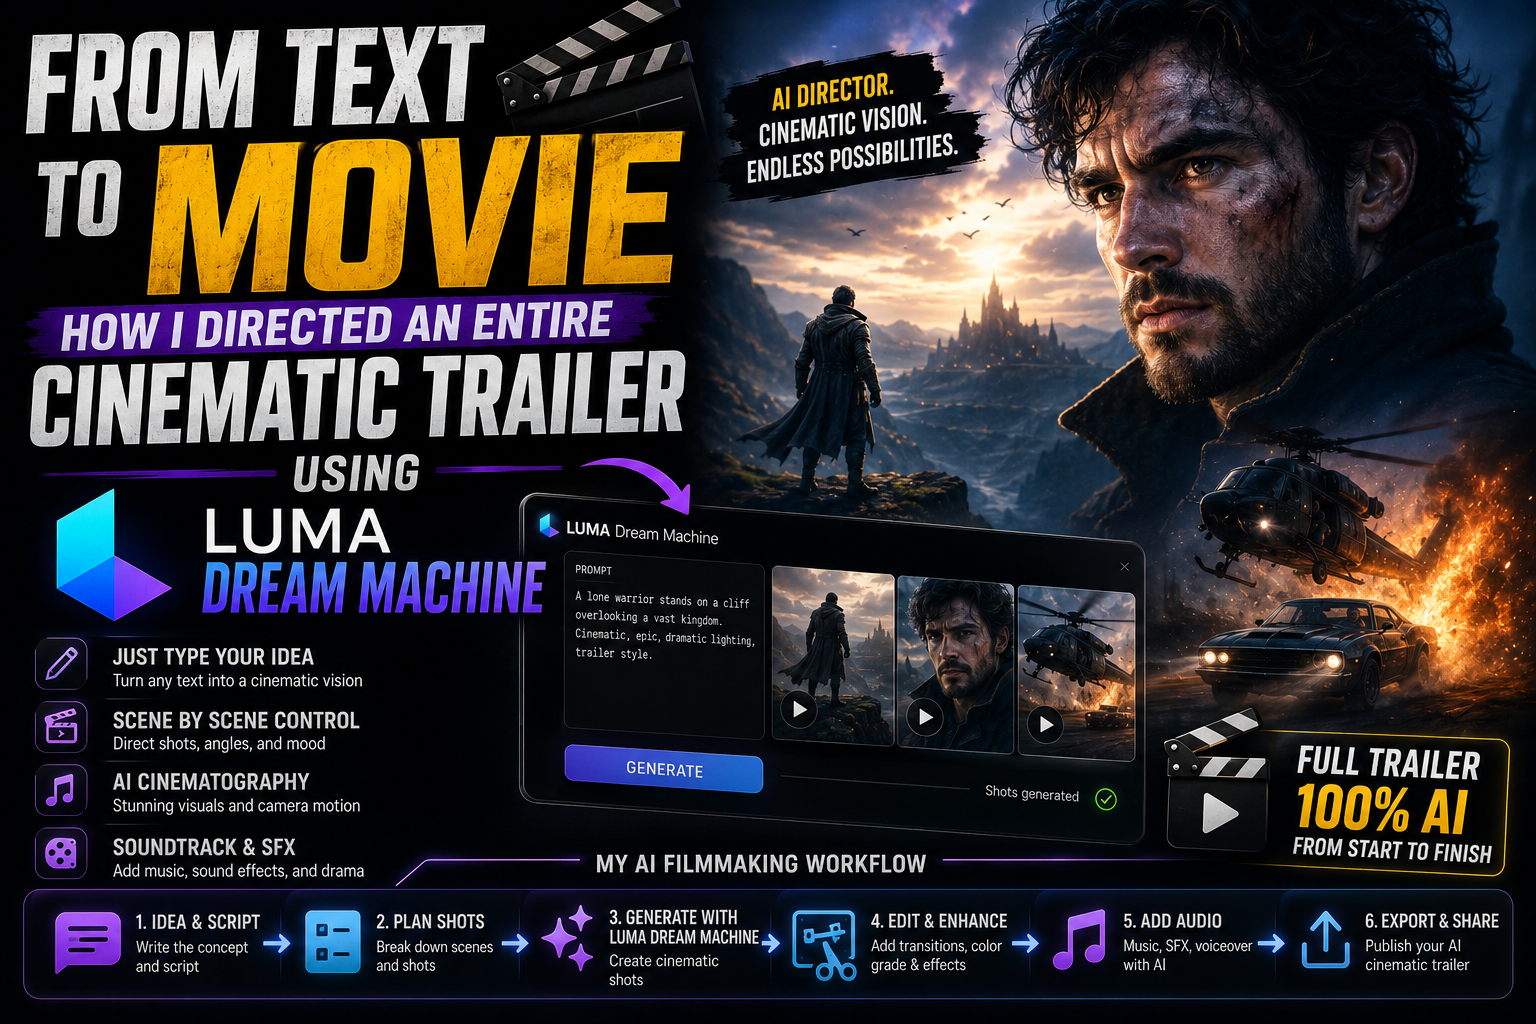
From Text to Movie: How I Directed an Entire Cinematic Trailer Using Luma Dream Machine
Introduction: The New Era of Independent Film Direction
For as long as I can remember, producing a high-concept sci-fi movie trailer required millions of dollars, a massive crew, specialized VFX artists, and months of post-production. If you wanted to film a futuristic metropolis with speeding hovering vehicles or a lone astronaut exploring an alien wasteland, your options were strictly limited by your production budget.
When generative AI video tools first emerged, they promised to break those financial barriers down. However, early text-to-video generators brought a different set of problems: distorted subjects, erratic physics, temporal flickering, and a total lack of camera direction control. You could prompt a scene, but you couldn’t direct it.
That paradigm shifted completely when I started directing with Luma Dream Machine. Powered by Luma AI’s Ray model framework, Dream Machine treats video generation as a physics-aware, reasoned simulation rather than a random image-warping machine. With features like precise keyframing, start-and-end frame trajectory control, multi-keyframe transitions, and seamless clip extensions, I realized I finally had the tools to direct an entire 90-second cinematic trailer from scratch.
Here is my complete, step-by-step production blueprint for directing a sci-fi movie trailer using Luma Dream Machine.
Step 1: Pre-Production, Scriptwriting, and Storyboarding
Before opening Luma Dream Machine, I knew I needed a concrete narrative framework. Generative AI is immensely powerful, but if you enter the workspace without a storyboard, you will end up with a collection of disconnected, pretty visual shots rather than a cohesive story.
I scripted a 90-second sci-fi teaser trailer titled Aethelgard: The Edge of Silence. The premise follows a rogue surveyor discovering an ancient bio-mechanical monolith on a frozen planet.
Structuring the 8-Shot Trailer Sequence:
-
Shot 1 (Establishing Wide): Atmospheric aerial view of a frozen desert planet under twin moons.
-
Shot 2 (Subject Introduction): Medium shot of the protagonist, clad in a weathered snow suit, trudging through a blizzard.
-
Shot 3 (Detail/Environment): Close-up of the protagonist’s helmet visor reflecting a blue, glowing structure in the distance.
-
Shot 4 (Discovery Reveal): Low-angle dolly shot looking up at a massive, intricate bio-mechanical monolith buried in ice.
-
Shot 5 (Action/Tension): The monolith pulse-activates, sending a physical shockwave across the snow.
-
Shot 6 (Protagonist Reaction): Tracking shot of the protagonist shielding their face as ice particles blow past.
-
Shot 7 (Climax): High-speed drone push-in toward the glowing core of the monolith as energy beams shoot into the sky.
-
Shot 8 (Title Card): Clean typographical title reveal over drifting atmospheric smoke.
To ensure character consistency across shots, I generated a set of master reference portraits for the protagonist using a static image model. These key reference stills served as visual anchors for Luma’s image-to-video generator.
Step 2: Mastering Camera Movement Vectors in Text Prompts
One of Luma Dream Machine’s greatest strengths is its ability to accurately interpret physical camera language. Instead of using vague adjectives like “epic” or “stunning,” I wrote my prompts using real-world cinematography parameters:
Directorial Prompt Examples Used in the Trailer:
-
For Shot 1 (Establishing Shot):
A slow, linear drone flyover shot sweeping high over a vast frozen desert planet. Golden hour light hitting icy ridges, atmospheric mist drifting gently across the valley, 35mm anamorphic lens, realistic depth of field, photorealistic, 4k resolution.
-
For Shot 4 (Monolith Reveal):
A dramatic low-angle dolly-in movement tracking toward an ancient, towering dark metal monolith covered in glowing cyan glyphs. Snow particles swirling naturally in the wind, volumetric rim lighting, cinematic shadows, 24fps.
By explicitly defining camera movement—such as panning, tracking, dolly-in, or low-angle sweep—Luma’s underlying Ray engine calculated realistic physical trajectories without morphing the background geometry.
Step 3: Taking Control with Keyframing and the Extend Feature
In traditional filming, a director dictates where a shot begins and where it lands. Standard AI generators usually generate four seconds of random motion, often drifting off-course by second three.
Luma Dream Machine solves this problem through its Keyframing system.
[ Start Frame: Daytime Exterior ] ───( Luma Motion Trajectory )───> [ End Frame: Dusk Exterior ]
1. Defining Trajectories with Start and End Frames
For Shot 5 (the monolith shockwave), I needed the scene to transition from quiet anticipation to intense energy. I uploaded a still image of the dormant monolith as my Start Frame and a second, edited image featuring glowing fractures as my End Frame. Luma synthesized a smooth, physically plausible trajectory between the two states, creating an organic transformation rather than a harsh cut.
2. Extending Clips for Narrative Pacing
A standard four- or five-second clip is often too brief for slow-burn cinematic shots. Using Luma’s Extend Feature, I added visual keyframes to the end of my initial generations to seamlessly stretch key shots up to 9 or 10 seconds. This allowed the camera movement to continue naturally while giving scenes room to breathe.
Step 4: Maintaining Visual Consistency Across Cuts
The biggest hurdle in AI filmmaking has always been character and environmental drift. If your main character’s helmet, jacket, or face changes from shot to shot, the illusion vanishes.
I maintained visual continuity throughout the trailer using three strategies:
-
Image-to-Video Grounding: Instead of relying purely on text-to-video for character shots, I consistently fed my master character reference stills into Luma’s image-to-video pipeline. This forced the model to preserve the protagonist’s exact wardrobe texture, helmet geometry, and color palette.
-
Lighting and Atmosphere Anchors: I kept environmental descriptors identical across every prompt within a scene—specifically referencing “golden hour lighting,” “swirling ice dust,” and “cyan volumetric illumination.”
-
Multi-Keyframe Alignment: For continuous actions, I reused the final frame of a preceding shot as the starting reference for the next angle.

Step 5: Post-Production, Foley, and Final Assembly
Generating visual clips is only half the battle. Video output from AI models is natively silent. To turn a series of silent, five-second MP4 files into a pulse-pounding trailer, I brought the footage into a non-linear editor (NLE) for post-production assembly.
-
Timeline Pacing and Editing: I imported all exported 1080p clips into my editing timeline, trimming shot transitions to match the tempo of a dramatic orchestral hybrid trailer score.
-
Audio Design (Voiceover & Sound FX): I generated a deep, cinematic voiceover narration line using an AI voice platform and layered detailed Foley sound effects underneath: wind ambient tracks, heavy boot footsteps crunching on ice, mechanical rumbles, and energetic shockwave whooshes.
-
Color Grading and Film Emulation: To blend the AI renders into a uniform filmic look, I applied a subtle color grade—cooling down the shadow tones while boosting cyan highlights—and layered a 35mm film grain overlay to soften digital edges.
Final Thoughts: The Director’s Seat in the AI Era
Directing Aethelgard: The Edge of Silence with Luma Dream Machine proved to me that the barrier between idea and cinematic execution has been permanently dismantled. What previously required weeks of green-screen shoots, expensive location permits, and complex 3D rendering pipelines was achieved in a single weekend from a desktop workspace.
Tools like Luma Dream Machine don’t replace directorial vision—they amplify it. Success still relies on understanding story beats, framing, lighting logic, pacing, and sound design. By combining structured pre-production planning with precise camera vectors and keyframed trajectory control, any creator can now direct high-impact cinematic trailers that look like they belong on the big screen.