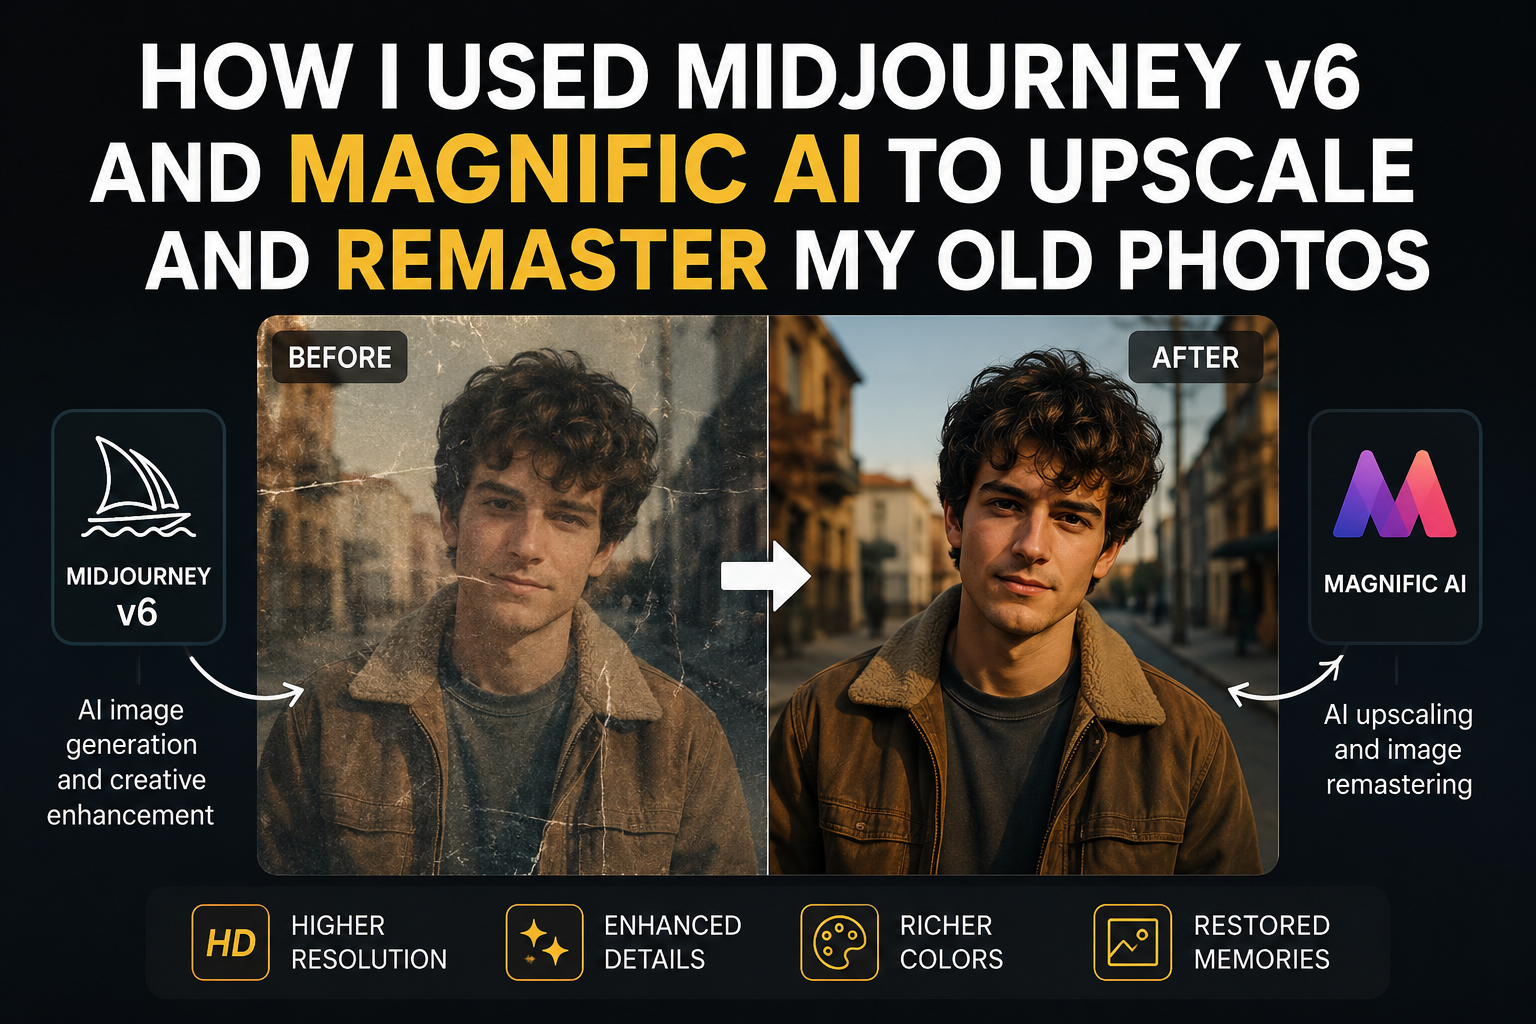
The Plastic Skin Bottleneck in Photo Restoration
Anyone who has tried restoring a faded family portrait or a damaged vintage photograph knows the frustration of traditional AI upscalers.
Tools like Topaz Gigapixel, Real-ESRGAN, or standard bicubic interpolation work by analyzing surrounding pixels and sharpening existing edges. But when a 1950s photograph is severely faded, scratched, or blurred, there simply isn’t enough underlying data for a traditional upscaler to calculate. The result is almost always the same: wax-like skin, unnaturally smoothed textures, distorted eyes, and plastic-looking faces that erase the soul of the original portrait.
The fundamental issue is that traditional upscaling interpolates pixels, but vintage restoration requires semantic reconstruction. When half an eye is covered by a crease or skin texture is completely lost to film degradation, the AI shouldn’t just magnify the noise—it needs to understand what was originally there and reconstruct it plausibly.
By pairing Midjourney v6 (for contextual reconstruction and structural repair) with Magnific AI (for generative, prompt-guided micro-texture synthesis), I built a hybrid workflow that completely bypasses the plastic look. This combination allows you to repair missing structural details, inject realistic skin pores and fabric weaves, and produce crisp, 8K print-ready images while preserving the likeness of the original subject.

Here is the exact framework, prompt architecture, and parameter tuning I use to remaster damaged vintage photographs.
The Dual-Engine Philosophy: Why One Tool Isn’t Enough
To understand why this hybrid approach succeeds where single tools fail, it helps to examine what each platform does best:
┌─────────────────────────────────────────────────────────────────────────────┐
│                       THE RESTORATION PIPELINE                              │
├─────────────────────────────────────────────────────────────────────────────┤
│  [ Low-Res Vintage Scan ]                                                   │
│             │                                                               │
│             ▼                                                               │
│  Step 1: Pre-Processing (Photoshop / GIMP) ──> Crop, contrast, clean dust   │
│             │                                                               │
│             ▼                                                               │
│  Step 2: Midjourney v6 (Structural Inpainting) ──> Repair tears, restore form│
│             │                                                               │
│             ▼                                                               │
│  Step 3: Magnific AI (Generative Pass) ──> Inject skin pores, hair, 8K res  │
│             │                                                               │
│             ▼                                                               │
│  Step 4: Composite & Likeness Masking ──> Lock in original facial geometry   │
└─────────────────────────────────────────────────────────────────────────────┘
-
Midjourney v6 / v6.1 (The Architect): Midjourney excels at scene understanding, lighting balance, and structural inpainting. Through image prompting (
--iw 2.0), Vary (Region), and the web-based Retexture/Editor tools, it can rebuild torn clothing, complete missing limbs, and re-balance faded exposure without altering the underlying aesthetic. -
Magnific AI (The Detail Synthesizer): Magnific is a diffusion-guided generative upscaler. Instead of merely blowing up image dimensions, it uses natural language prompts and generative control sliders (Creativity, Resemblance, Fractality) to synthesize brand-new micro-details—such as iris depth, individual hair strands, skin pores, and authentic film grain.
Restoration Technology Comparison
Step-by-Step Restoration Masterclass
Never feed a raw, heavily damaged scan directly into generative AI models. Dust spots, large cracks, or extreme color casts can confuse the AI’s attention mechanism, turning a scratch on a face into an unwanted scar or pipe.
-
Crop Out Margins: Remove physical paper borders, torn edges, and mounting frames.
-
Exposure & Tone Correction: In Photoshop, Lightroom, or GIMP, flatten extreme shadows and lower harsh highlights using a curves adjustment layer. Convert faded black-and-white photos to a clean grayscale space to eliminate uneven yellow aging stains.
-
Spot Healing: Use a basic spot-healing brush to manually patch major cracks across key features (like eyes, nose, and lips).
Once the base image is prepared, upload it to Midjourney to perform structural repair and lighting balance.
Using Image Prompts (--iw 2.0): Pass the image URL into Midjourney with maximum image weight to force the model to adhere strictly to your original composition:
[URL_TO_CLEANED_SCAN] authentic high-resolution remaster of a vintage 1940s portrait photograph, sharp focus, natural soft lighting, detailed facial features, period-accurate clothing --iw 2.0 --v 6.1 --style raw --s 50
Targeted Inpainting with Vary (Region) / Web Editor: If the overall photo is intact but a specific area is severely degraded (e.g., a damaged suit jacket or a blurred hand), highlight that specific region using Midjourney’s Vary (Region) or Editor tool. Prompt specifically for the missing element (e.g., “detailed wool suit jacket fabric, sharp focus”).
Select the candidate iteration that best retains the subject’s core facial geometry and download the raw output.
Take your structurally repaired Midjourney output and import it into Magnific AI to generate ultra-high-definition textures.
Configuring Key Parameters:
-
Preset Selection: Choose Portraits (Soft) for human subjects or Film & Photography for historical streetscapes and architecture.
-
Creativity (
1.0–1.4): Controls how many new details the AI generates. For historical portraits where subject accuracy is paramount, keep this between1.0and1.2. For heavily degraded backgrounds, you can push it up to1.5. -
Resemblance (
1.5–2.0): Sets how strictly the upscale must match the input image. Keep this high (1.8+) to avoid altering the person’s face structure. -
Fractality (
1.0–1.3): Controls the density and complexity of generated details across the frame.
Prompt Guidance: Guide the generative diffusion engine by describing the exact microscopic details you want it to add:
“Photorealistic 8K portrait, natural skin pores, fine facial hair, detailed iris and eyelashes, authentic cotton weave texture, subtle film grain, soft studio lighting.”
Execute the upscale to generate a high-resolution render (4x to 16x enlargement).
Generative upscaling can occasionally introduce subtle “hallucinations”—such as slightly altering the shape of an eyelid or modifying a familiar smile. To ensure 100% historical accuracy, perform a final composite pass.
-
Open your image editor and place the Magnific AI upscale on the top layer and the original cleaned scan on the bottom layer.
-
Align the two layers precisely (use Difference blend mode at 50% opacity to verify alignment).
-
Add a Layer Mask to the Magnific upscale layer and invert it (hide all).
-
Using a soft white brush at 30% – 50% opacity, paint back the high-resolution textures from Magnific over skin, hair, clothing, and background elements.
-
Keep key identity markers—such as distinct beauty marks, specific wrinkle lines, or eye shapes—anchored to the original underlying geometry.
Parameter Tuning Matrix for Different Photo Conditions
Different types of vintage photo damage require distinct setting profiles. Use this matrix to calibrate your workflow:
Pro-Tips for Archival Realism
1. Beware the “AI Eye” Trap:
AI upscalers frequently struggle with iris symmetry, often creating reflection highlights that don’t match the light sources in the scene. Always zoom in to 100% on the pupils during Step 4 to ensure eye reflections are consistent.
2. Re-Inject Film Grain for Cohesion:
Modern AI outputs can sometimes look too clean, which triggers a feeling of unnaturalness when looking at a 100-year-old image. After completing your composite, add a subtle uniform noise layer (1%–3% monochromatic Gaussian noise in Photoshop) across the final image. This unifies the blended layers and restores an authentic analog feel.
3. Preserve Period-Accurate Textures:
When writing prompts in Magnific, reference period-appropriate materials. Prompting for “wool weave, vintage linen, silk tie texture” yields far better results than generic phrases like “high quality clothes”.
Final Thoughts
Photo restoration is no longer about accepting a compromise between blurry authenticity and waxy AI smoothing. By leveraging Midjourney v6 to handle macro-level structural repair and Magnific AI to synthesize believable micro-textures, you can breathe vibrant, high-definition life back into archival family memories while keeping their historical truth intact.