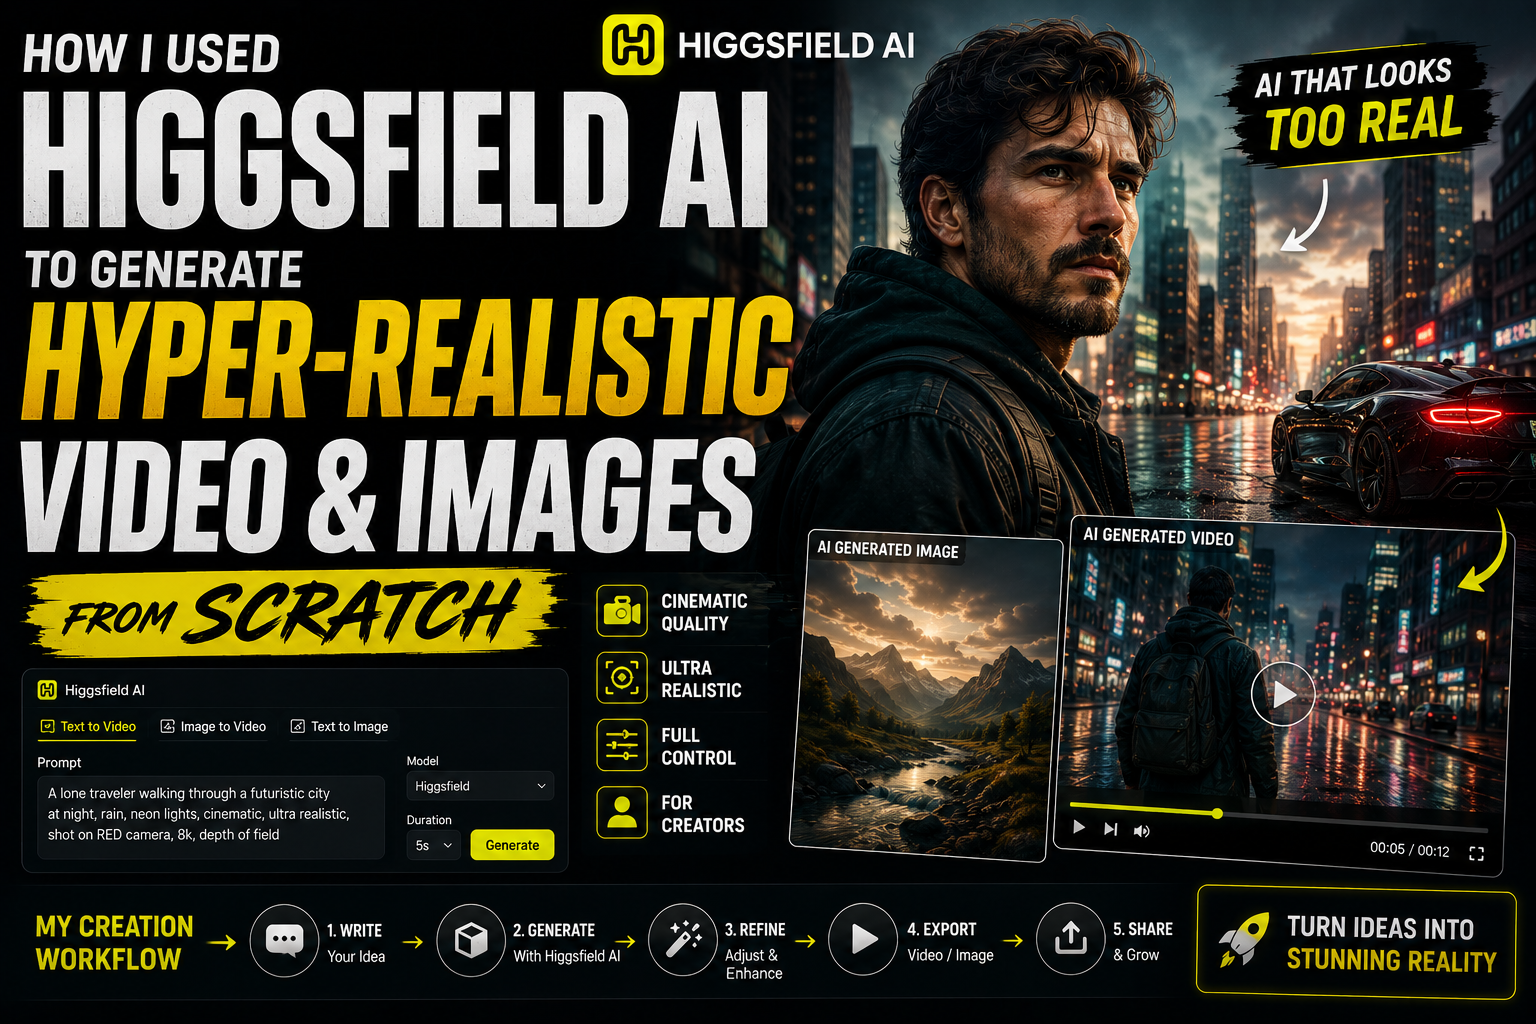
Introduction: The Quest for Real Cinematic Control in AI Generation
When I first started experimenting with artificial intelligence for video production and asset creation, I ran into the same exhausting wall everyone else did: the uncanny valley, unpredictable subject warping, and a frustrating lack of genuine camera direction. Most text-to-video models felt like playing a slot machine. You typed in a descriptive prompt, crossed your fingers, and hoped the model didn’t turn your protagonist into an abstract art piece halfway through a three-second clip. The movements were jittery, the physics defied logic, and maintaining character consistency across multiple shots felt nearly impossible.
That all changed when I dedicated a week to deep-diving into Higgsfield AI. Unlike platforms that treat motion as a secondary filter or a black-box trick, Higgsfield approaches generation through the lens of a professional filmmaker. By combining a robust multi-model workspace with dedicated optical physics, advanced multi-axis camera control, and seamless image-to-video pipelines, it completely transformed my production workflow.
Here is the exact blueprint, methodology, and step-by-step framework I used to go from a blank canvas to hyper-realistic video and image assets using Higgsfield AI.

Understanding the Higgsfield Ecosystem: More Than Just Another Prompt Box
To get professional results out of any AI suite, you first have to understand how its underlying architecture operates. Higgsfield isn’t just a single model; it acts as a unified creative workspace that integrates industry-leading generation architectures—such as Sora, Kling, Veo, Wan, and proprietary engines—all under a unified dashboard designed for creators, marketers, and independent filmmakers.
Before writing a single line of prompt text, I established my core creative pillars to guide the generation engine:
-
Deterministic Control: Moving away from random generations toward precise, rule-based framing and motion pacing.
-
Optical Authenticity: Emulating real-world camera bodies, vintage glass, and focal lengths rather than relying on flat digital aesthetics.
-
Character Continuity: Ensuring that subjects retain their exact facial structure, clothing, and styling across multiple cuts.
Step 1: Laying the Groundwork with Photorealistic Base Images
Hyper-realistic video always begins with a rock-solid foundation. If your starting frame is noisy, poorly composed, or texturally flat, any subsequent motion model will hallucinate artifacts and tear the composition apart.
-
Leveraging the Image Pipeline: I started by utilizing Higgsfield’s image generation features. Instead of generic prompting, I structured my text inputs using a professional photography formula:
[Subject Architecture] + [Lighting & Volumetric Atmosphere] + [Camera Specs & Optics] + [Stylistic Intent]. -
Example Prompt Formulation: A cinematic medium shot of an industrial designer working in a rain-streaked Tokyo loft, soldering microchips under dim neon lighting. Volumetric steam rising from a cup of coffee, soft anamorphic bokeh background, authentic skin texture with natural pores, shot on an 85mm lens, photorealistic, 8k.
-
Iterative Refinement: I generated roughly a dozen variations until I found a subject with absolute anatomical accuracy, correct hand proportions, and crisp textural contrast. This still frame would serve as the master anchor for my upcoming video sequence.
Step 2: Directing the Virtual Camera with Cinema Studio
One of the standout breakthroughs of the platform is Cinema Studio, Higgsfield’s flagship feature designed to simulate real optical physics. Rather than letting the algorithm guess how a camera should pan or track, this tool lets you build a virtual camera stack.
-
Selecting the Virtual Lens: Within the Cinema Studio interface, I configured my virtual camera settings. I chose a custom digital cinema body paired with a 35mm anamorphic glass profile to introduce subtle, organic edge distortion and widescreen cinematic framing.
-
Multi-Axis Motion Control: Simple, flat panning shots look amateurish. Using Higgsfield’s multi-axis motion control, I was able to stack simultaneous camera movements—specifically, a slow forward dolly combined with a gentle lateral pan at 15% speed. This creates an immersive, breathing camera presence that pulls the viewer directly into the scene without triggering warp artifacts or background tearing.
Step 3: Transforming Still Images into Fluid Motion
Once my base image and camera parameters were locked, I transitioned into the image-to-video workflow. This is where the magic happens, turning a static photograph into a living, breathing cinematic moment.
-
Uploading the Master Frame: I dropped my previously generated designer portrait into the video generation module.
-
First and Last Frame References: To maintain absolute narrative control, I utilized the first and last frame reference feature. By defining both the starting composition and the intended end state of the shot, I prevented the AI from drifting off into unrelated visual tangents.
-
Targeted Motion Brushing: Instead of applying uniform motion across the entire frame, I used regional motion brushes to isolate specific elements. I instructed the model to keep the background environment stable while animating subtle, natural movements—such as the designer’s fingers making micro-adjustments to the soldering iron and wisps of steam drifting upward.
Step 4: Ensuring Character Consistency Across Scenes
In any serious video project, character drift is public enemy number one. If your protagonist looks like a completely different person in shot two, your audience’s suspension of disbelief shatters immediately.
To combat this, I utilized Higgsfield’s character locking features (such as Soul ID). By uploading reference images of my protagonist into the system’s memory, I ensured that facial structures, hair color, and clothing remained completely uniform across multiple distinct scene generations. Whether the character was looking down at a workbench or walking through a rainy alleyway, the identity stayed locked.
Step 5: Post-Processing, Upscaling, and Platform Formatting
Raw AI generation outputs are powerful, but professional delivery requires careful polish. Once my clips were rendered, I ran them through Higgsfield’s integrated upscaling and export pipeline:
-
Native Resolution Checks: I ensured crisp detail retention, leveraging intelligent refinement to export clean files without artificial smoothing or plastic textures.
-
Multi-Format Resizing: Because I planned to distribute teaser clips across YouTube Shorts, Instagram Reels, and traditional widescreen web formats, I used the built-in video resizer tool to reframe my master shots into 9:16 and 16:9 ratios without cutting off key subject framing.
-
Final Color Grading: I pulled the finalized MP4 files into DaVinci Resolve, applied a subtle 35mm film grain overlay, and layered in atmospheric sound design to tie the visual asset together.
Conclusion: Why Higgsfield AI Changes the Creative Game
Mastering Higgsfield AI completely altered how I approach pre-production, prototyping, and content creation. By shifting away from chaotic, unstructured prompting and moving toward a deterministic, director-driven workflow rooted in real optical physics, I can now produce hyper-realistic video and image assets that rival traditional studio pipelines—all in a fraction of the time and at a fraction of the cost.
If you have been frustrated by the unpredictable nature of legacy AI video generators, adopting a structured, camera-first approach with Higgsfield is the single best step you can take to elevate your creative output.